Responsive HTML5 Web Design Tutorial – How To Make A Website From Scratch

YouTube player

Please subscribe on YouTube 😊

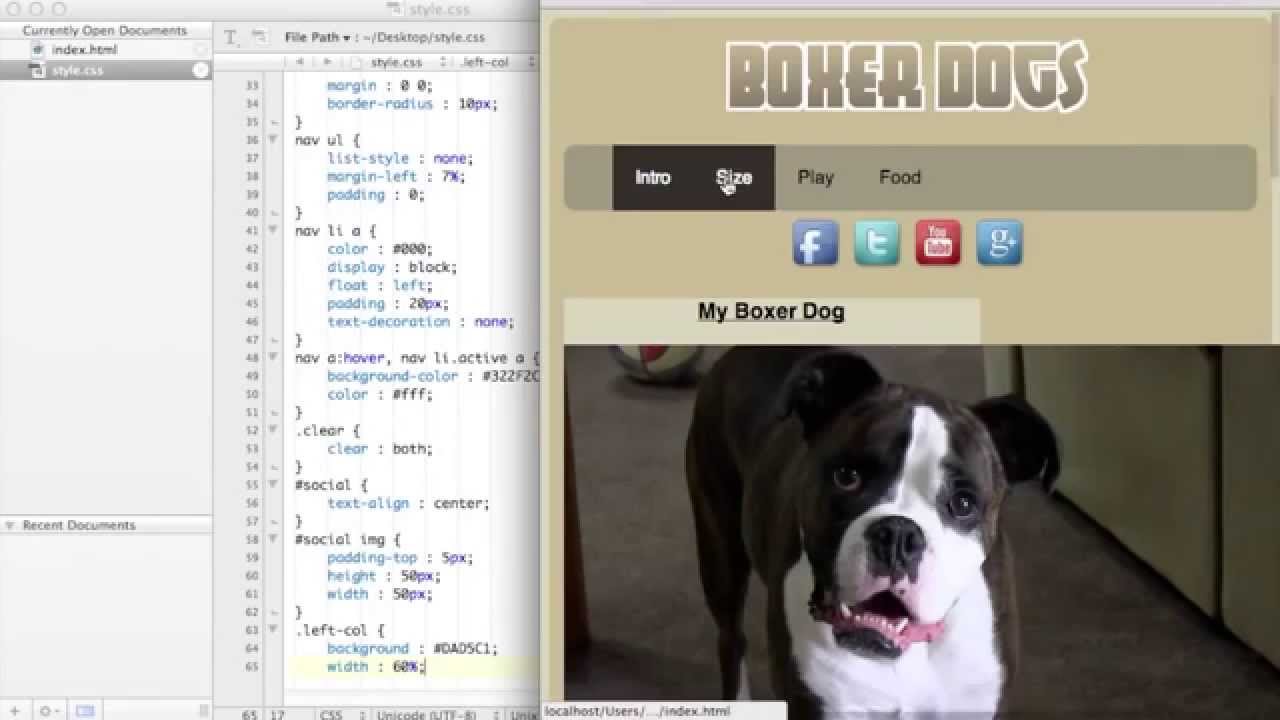
In this video tutorial you will learn how to make a basic HTML5 Responsive Website from scratch using only a text editor. This is for those of you who are just getting started with responsive web design who want to get the feel of how HTML5 and media queries work together. First we will layout all of the html and then move over to our css style sheet to actually design the website.

The text editor I will be using in the tutorial is called “Text Wrangler” which is a free software you can find online and works with any Mac computer. If your on a PC, however, one of the best free text editing softwares you can find is called “Note Pad ++”.

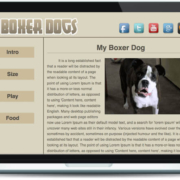
In the video an external style sheet is used for the css of the design but in the free downloadable file it is an internal style sheet. Feel free to download the source code of the HTML5 Template if you do not wish to follow along with the video. All of the images in this website tutorial are uploaded to the web so they do not come with the download.

Introduction To HTML5 – HTML Programming Tutorial

YouTube player

In this video tutorial we’ll get an introduction to HTML5 by covering a number of different basic HTML5 elements.

Introduction to HTML and CSS With A Two Column Website

YouTube player

Please subscribe on YouTube 😊

One mistake made by newbies like myself in HTML and CSS is to run down a list to learn specific HTML tags and CSS rules in the beginning rather than attempting to create a workable project where all of the pieces come together. My most valued learning experiences when I started on introduction courses to HTML and CSS were where I simply followed and copied code through book and video tutorials.

In this video tutorial, you will see how to make a two columned one page layout with some styling within the HTML document to give the website some flare. All you need to participate in this tutorial is a text editor and the links to the images I provide below if you don’t want to use your own.

How To Use FileZilla FTP Client

YouTube player

Each and every web hosting provider has a section of their c-panel designated to FTP, or File Transfer Protocol, where you can upload files from your desktop to your web host’s server and apply changes to your website instantaneously while it’s live on the web. Files may include an entire static website, a WordPress theme, a single image or a WordPress child theme in the form of a style.css file, for example. Unfortunately, the FTP features many hosts provide are a discernable mess that inevitably restrain workflow and breed confusion!

What makes a model FTP Client? A few much appreciated qualities are, one that works across all platforms and operating systems, is easy to set up with your FTP user info from your host, works seamlessly, is frequently updated and lastly, a quality everyone enjoys, is free. FileZilla adheres to all of the above, then some, and is the most widely used FTP Client available.

After downloading and installing FileZilla, these are the steps you need to take to connect to your hosting account.

  1. Create an FTP username and password with your host and obtain your host’s ip address. For Blue Host use “ftp.(yourdomain.com)”.
  2. In FileZilla, go to “File” > “Site Manager…” > “New Site”  and under “General” > “Host” enter your host’s ip address, change the “Logon Type” to “Normal” and enter your user name and password. Then hit “Connect” and your information will be saved so you can connect to your host with one click. You may also need to enter a port number depending on your host and if you login with “Quick Connect” on the main page, your information will not be saved.
  3. Now that your connected to your host, all of the folders and files on the right side of the screen are those contained by your host and you are free to navigate through your hosted content to download, back up or transfer documents to or from the left, being your computer itself.

How To Upload A Website To The Internet With FileZilla FTP

YouTube player

In order to upload your HTML website to the internet using the FileZilla FTP (File Transfer Protocol) program you’ll need three key things from your web host:

1. The IP Address for your web host.
2. Your hosting plan User Name.
3. Your hosting plan Password.

In the video above I’ll show you how to get this information with the Web Host that I use to host all of my websites, Blue Host. Once you have you ip address, user name and password you can connect to the web server using FileZilla to drag and drop your website files directly onto the server so your website is online for everyone to see it at the domain name (dot com name) of your choosing!